
{From the 2023 Christmas Newsprint Magazine}
Italian Cookies

Ingredients:
• 1/2 cup butter, room temperature
• 1/2 cup granulated sugar
• 3 eggs
• 1 1/2 teaspoons vanilla extract
• 1 1/4 teaspoons almond extract
• 3 cups all purpose flour
• 1 tablespoon baking powder
• Colored sprinkles (the tiny ones)
• 2 cups confectioner's sugar
• 3 tablespoons milk
Instructions:
Preheat the oven to 350 degrees.
Using an electric mixer, mix the butter, granulated sugar, eggs, 1 teaspoon of vanilla extract and one teaspoon of almond extract together.
Add in the baking powder and continue to mix. Then slowly add in the flour continuing to mix until all of the ingredients have come together.
Line a baking sheet with parchment paper.
Take a little bit of dough and form it into a cookie ball and place it on the cookie sheet; approximately 2 - 3 inches in diameter. Continue the process until you have used all of the dough.
Bake the cookies for 10 minutes.
Let the cookies cool for 10 minutes before removing them from the pan and placing them on a cooling rack.
Once the cookies are completely cooled, stir the confectioner's sugar, 1/2 teaspoon of vanilla, 1/4 teaspoon of almond extract and the milk together to make a glaze. Dip each cookie into the glaze covering almost all of the cookie just leaving the bottom uncovered and add sprinkles immediately. The glaze will set quickly.
Let the glaze firm before serving.
Storing: You can keep these cookies in an airtight storage container for several days. I like to keep mine in a cool storage. Just take them out for 30 minute before serving so the temperature reaches room temperature.
The Bread Trick! Keep these cookies soft by adding a piece of bread into your airtight storage container. My mom taught me this trick and it really does work. It prevents the cookies from going stale brilliantly simple. I wonder who came up with this idea? It’s been passed down through the generations so it’s an oldie, but a goodie.
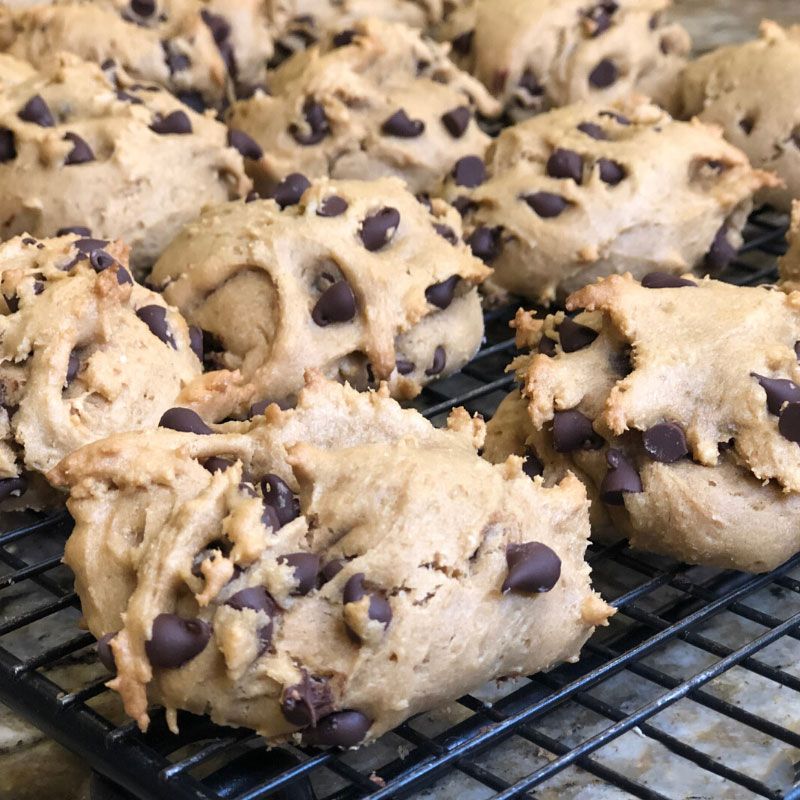
Gluten Free WOWButter Chocolate Chip Cookies
Ingredients:
• 3 eggs
• 1 cup WOWButter
• 1/2 cup brown sugar
• 1/4 cup maple syrup
• 1 1/2 teaspoons vanilla extract
• 1 1/2 cups gluten free flour
• 1 teaspoon baking powder
• 1/2 teaspoon salt
• 1 cup mini chocolate morsels
Instructions:
Using an electric mixer, mix the eggs, WOWButter, brown sugar, maple syrup and vanilla extract together well. In a separate bowl, stir the gluten free flour, baking powder and salt together. Slowly add it to the WOWButter mixture and continue to mix until all of the ingredients are blended.
Stir in the mini chocolate morsels by hand.
Let the batter set while you warm the oven to 350 degrees.
I used a medium cookie scoop to make and bake 24 cookies. I simply scooped them on to nonstick baking sheets, popped them in the oven once it reached 350 degrees and baked for 10 - 12 minutes.
Remove the cookies from the oven and let them set for a few minutes before using a thin spatula to remove them from the baking sheet. Place them on cooling racks.
Gluten Free Flour: I used an all purpose, multi purpose gluten free flour when making these cookies.
Chocolate Chips: The Enjoy Life brand is a great allergy friendly alternative to try.
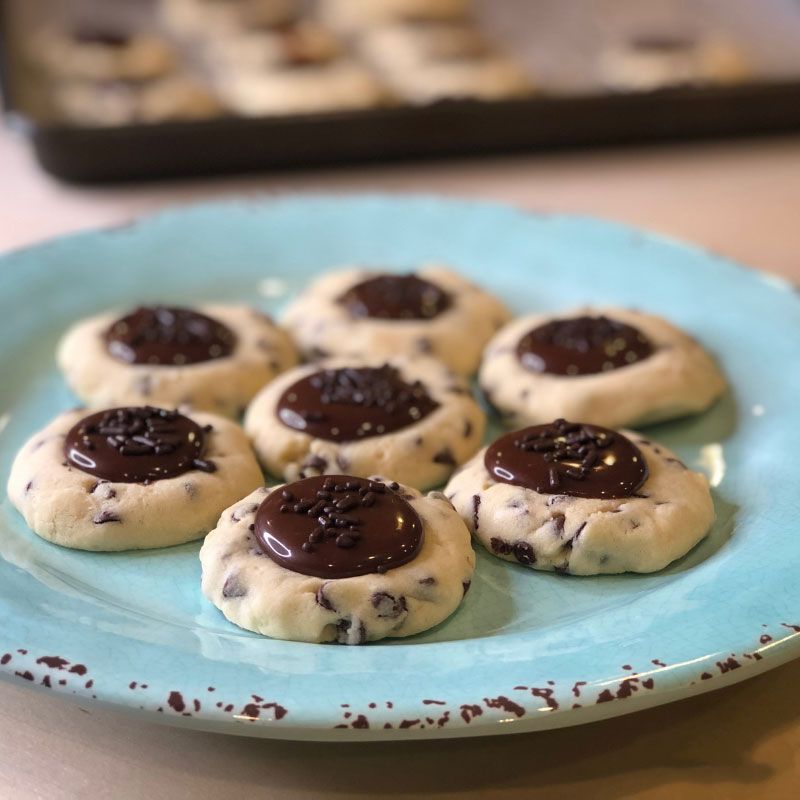
Chocolate Caramel Filled Shortbread Cookies
Ingredients:
• ½ cup butter, room temperature
• 1 teaspoon vanilla extract
• 1 egg, large
• ½ cup confectioner’s sugar
• 1 ½ cups all-purpose flour
• ¾ cup mini chocolate chips
Filling
• 2 tablespoons butter
• 3 tablespoon milk
• 5 oz. Caramel candies, unwrapped
• ¼ cup mini chocolate chips
Instructions:
Preheat the oven to 350 degrees.
Using an electric mixer, whip together the room temperature butter with the vanilla extract, egg and confectioner’s sugar. Slowly add in the flour continuing to mix with the electric mixer until all ingredients are mixed well.
Using a spatula, fold in the mini
chocolate chips.
Form the dough into small cookie dough balls and slightly flatten them and place them onto a parchment paper lined baking sheet.
Using a tablespoon sized measuring spoon, dip the base of the measuring spoon into confectioner’s sugar and press it into each cookie to create an indent.
Bake the cookies for 10 – 12 minutes.
Recipe makes approximately 18 cookies.
While the cookies are baking and cooling, prep the filling by first melting 2 tablespoons of butter over low heat in a saucepan. Once melted, over low heat, add in the 3 tablespoons of milk, 5 oz. unwrapped caramel candies and stir until the candies have melted and the three ingredients are mixed together well. Turn off the heat and add in ¼ cup of mini chocolate chips. Continue to stir until they are fully melted and mixed in.
Add the filling into a piping bag once it’s slightly cooled and can be handled. If you don’t have a piping bag, add the filling to a quart sized freezer bag and clip one corner.
Pipe the filling into the cookie indent. Let the cookies set until the center hardens, approximately 30 minutes.
Optional: Add sprinkles on top before the center hardens.
Storing: If you are layering the cookies when storing in an airtight container, keep a layer of parchment paper between the layers to prevent the cookie centers from sticking to other cookies.
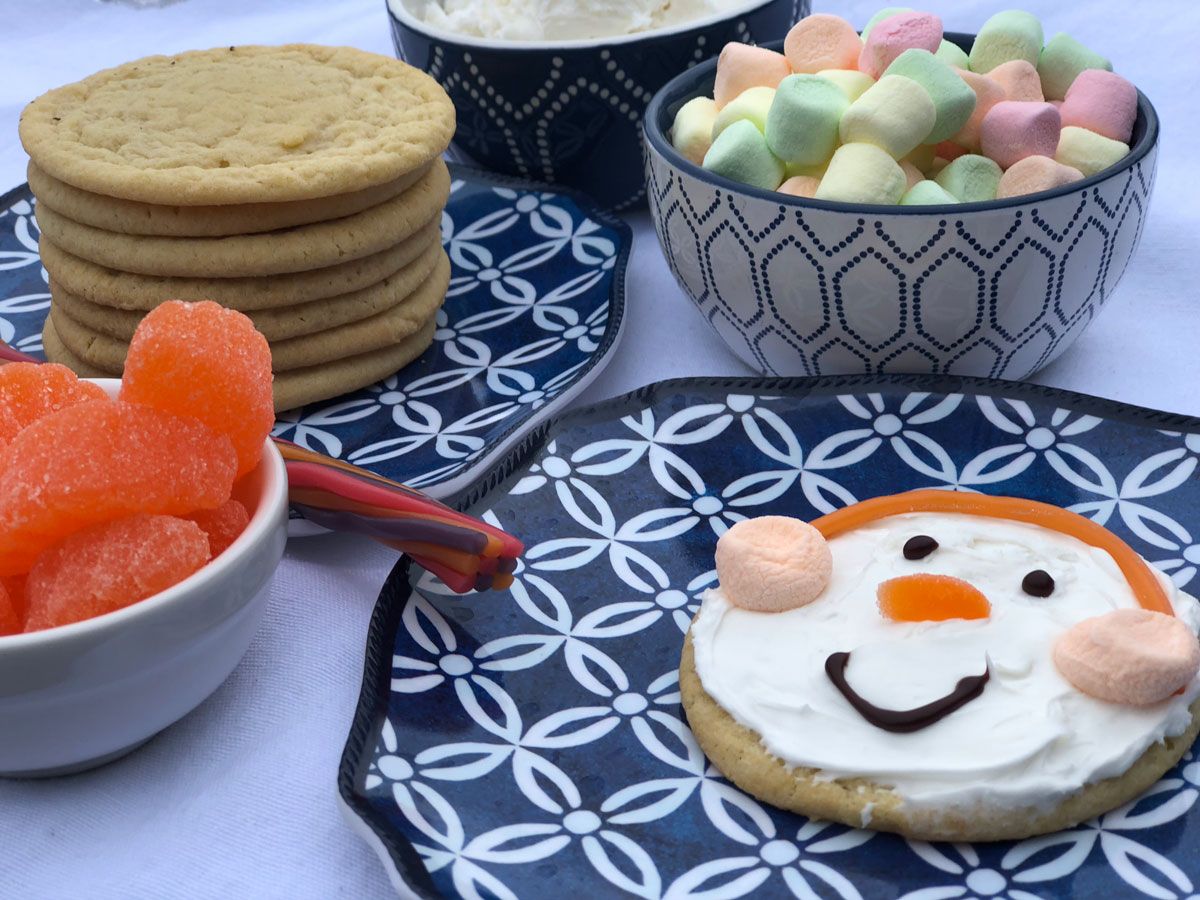
Snowman Cookies
Ingredients: (per cookie)
• 1 Sugar Cookie
• 2 tablespoons vanilla butter cream frosting
• 1 tube of black gel or chocolate decorating frosting
• 1 orange slice candy
• 1 string of a pull and peel Twizzler®
• White chocolate melts
• White sprinkles (optional)
Instructions:
Frost the cookie with the vanilla butter cream frosting.
Cut the string of Twizzler® in half and wrap around the top half of the cookie to serve as the top of the earmuffs.
Select two matching colors of mini pastel marshmallows. Press them slightly to flatten and place them firmly in place so that they stick to the frosting on either end of the cut Twizzler®.
Use the tubed frosting to create two eyes and a mouth.
Cut the orange slice candy in half lengthwise. Then cut one half into small triangles to create noses. Add one to the center of each cookie.
Where Can I find everything?
In the baking aisle you can find:
- The tubed frosting
- The mini pastel marshmallows
In the bakery you can find:
- The sugar pre-baked cookies
- The butter cream frosting
In the candy aisle you can find:
- Orange slice candies
- Pull and peel colorful Twizzler® candies
Note: These cookies are fun any time throughout the holidays, but make super easy classroom party treats and/or a fun family activity on Christmas eve to leave for Santa.
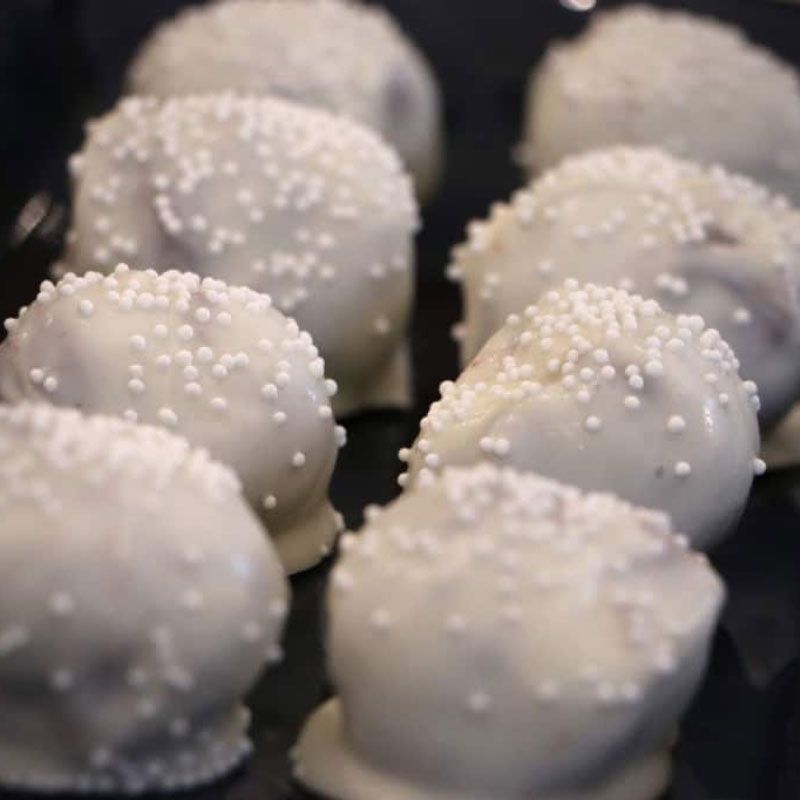
Snowball Brownie Bites
Ingredients:
• 1 Fudge Brownie Mix
• 1/4 cup butter, room temperature
• 1 1/4 cups confectioner’s sugar
• 1/2 cup semi-sweet chocolate morsels
• 1 1/2 tablespoons milk
• ½ teaspoon vanilla extract
• ¼ cup mini chocolate morsels
• White chocolate melts
• White sprinkles (optional)
Instructions:
Bake the Fudge Brownie Mix as directed on the package and let them cool completely.
Cut them into small squares, approximately one inch, and mix the butter, confectioner’s sugar, milk and vanilla together.
In a glass dish melt the 1-cup of semi-sweet chocolate morsels in a microwave on high for one minute. The morsels will not look fully melted until you stir them. Let the melted chocolate begin to cool a minute just so that it’s not extremely hot. Add it to the butter, confectioner’s sugar, milk and vanilla mixture and stir it together.
Using a rubber spatula, cut the brownie pieces with the frosting mixture and ¼ cup of mini chocolate morsels.
Using your hands, roll the brownie mixture into balls approximate 1 ½ – 2 inch diameter. Place them on a baking sheet lined with either waxed paper or parchment paper. Place the bites in the refrigerator for a minimum of 1 hour before proceeding.
Melt the white candy melts in a glass dish in the microwave on high for one minute. Stir them together before they are fully melted.
Dip each brownie bite into the melted white chocolate and return them to a waxed paper or parchment lined baking dish. Top them with white sprinkles, while the white chocolate is still wet. Continue this process until they are all dipped. Let them set until the white chocolate has fully hardened before serving.
So Much Fun with Kids!
There's lessons in every recipe making experience for the kids in your life. Here are a few activities to concentrate on when making these cookies:
• Measuring ingredients
• Mixing
• Electric mixer safety
• Melting
• Stovetop safety
• Piping
• Following directions